Sunday, May 13, 2012

Jewelry Challenge Challenges Laura McHugh West

"I ended up really enjoying this challenge, but boy, it was super hard for me." said Laura McHugh West about Laura McHugh East's art challenge this week, which was to make a piece of flower-inspired jewelry.


* * *
I do mixed media, but not jewelry. I don't have any of the materials, tools or skills for jewelry-making. So instead of going out and buying materials, I decided to use what I have and make it in my own style.

I started by punching and cutting out the items to make a necklace with some flower-shaped paper baubles. I used tissue paper for the rope and a two-sided print of some art I did on Friday for the baubles.


Here are the baubles with holes punched in them so I can string them onto the rope.
 

Here I am stringing them using a delicate 1/4" wide ribbon. I put some tape around the end of the ribbon to make it easier to wind into the rope and baubles.


I thought some buttons on each bauble would be nice to finish them off. Also the button added some weight to the necklace. Since it is made of paper, the necklace is quite ephemeral. 
 

Here are the buttons I chose. Small and delicate colors.
 

I used a hot glue gun to attach a button to each bauble.


I'm surprised that it turned out as cute as it did. It won't hold up for years and years, unless the owner is extremely careful with it. It may be jewelry best displayed on the budoir dresser.

Sunday, May 6, 2012

3D flower Bouquet is our challenge this week

Make a 3d bouquet of flowers was the challenge this week from my friend  Laura McHugh west.......I love flowers and can't get enough of them so this was an easy one for me....... the problem was deciding which flowers to make.....so I decided  on flowers that I learned from a kit I purchased from Paper Source.  http://www.paper-source.com/cgi-bin/paper/item/Wild-Magnolia-Paper-Flower-Kit/2710_012/4071290203.html
The only problem is that I have used it in school with my students and didn't have it for me to look at so I am creating this from memory....


draw 2 flowers one large and one small and one leaf design.....you can be creative here and if  you have the time try a variety of shapes.....just make sure you make a stem cause this is what you will tape down to hold petals in place....


I picked scrap book paper that I had which is one sided but double sided would even be nicer....


I selected some paper........


cut out my shapes..........


cut 5 pieces of  the large flower petal and 5 of the small flower petal for each flower and 1 leaf per flower.....


next gather some floral wire and floral tape...I am lucky cause a friend donated a huge box filled with both....


starting with the wire make a little ball at the end of the wire with some felt or quilting batting, wire it in place with some thin wire then cover with floral tape....


next I found a piece of double sided pink paper and used this as the center, cutting a piece about 2 inches wide by 4 inches and with fancy cutting scissors or with a regular pair cut thin little strips but do not cut all the way through....


next you will wrap this around the felt center and hold in place with floral tape....


take your time and be neat with the tape.....


next you will be adding the small flower petals and this takes time so be patience....put one petal on then wrap with tape and then the next ....until you have put all 5 on overlapping them as you go...


next is to do the same with the larger petals....then add the leaf.....until you have all 10 petals and 1 leaf attached....continue wrapping with the floral tape.........................


now on to another flower....


by now you will be able to go a little faster since you already made one....


take your time wrapping making sure that you are applying enough pressure to hold it f firmly in place.....


well now to decide where to put my 3-d Bouquet????


I am sure you will enjoy making these in all the colors to match your home or for a special friend to cheer her up.

April Showers Bring Paper Flowers

This week, I challenged Laura McHugh and myself to make three dimensional paper flowers into a bouquet. I just made about 40 of these items to use as thank you gifts for a committee team that did a fundraiser, so it was easy for me to go back to what I had done there.

I started by taking pages from an old (late 1800s) dictionary and painted in watercolor on them. This would also be fine without any watercolor, as a black and white flower, but I like color so I chose a light yellow, sage green, hot bright pink and aquamarine blues.


I just painted lazy circles on each paper, all laid out on my kitchen island. I think I did it while on a conference call. Phone calls are the perfect time to do this mindless "doodling." In fact, I try not to think too hard about what I am painting so as to keep it very loose.


I like to do things in batches. I did 10-12 of each color. Secret about me? I want to write a book on  efficiencies used by artists when doing production work like this.


*~*~*~*~*~*~*~*~*~*~*~*

The next step is to fold the paper. I start by folding one really good crease of the right width (approximately 3/4" in this case). Then, I pile 5-6 papers together and start creasing back and forth.


I've seen instructions that recommend using a ruler to measure and draw all the fold lines. You can do that if you want, but I personally don't have the patience for that.


Next is to separate the 5-6 papers and recrease with a bone folder. After that, each accordian folded paper is folded lengthwise in half.


Each of these papers will be one flower. I use a hot glue gun to glue the inside and outside papers back on each other. What you get is a fantastic circular flower, ready to add the center and something to hang it up by when you are ready to.


The center of these flowers are really ugly before you complete them, so I punched out some paper I had from shopping bags and some cardstock. Then, I used a sticker set from Cavallini to embellish the centers. These elements were all glued on using the hot glue gun.


In this case, I used an old stamp and a piece of off-white cardstock. (I do the same thing in plain paper on the reverse side and use the circle there to put a sticker with my contact information.)


Arranged in a beautiful vase, they are a bounty of blossoms ready to kick of May in style.


What is your favorite flower? Enjoy.


Sunday, April 29, 2012

In Just Under the Wire

This week's art challenge from Laura McHugh East was to paint a watercolor of April showers bringing May flowers. 


I had a very busy weekend - getting all my items tagged for next week's Open Studios (see photos on my Facebook page (Laura McHugh's Art here). Then, today I went to a party and hung out with my grandson making cookies. 


So it is 11 pm, and I just remember that I forgot to do my homework for this week's art challenge! I rushed out to my studio, which looks more like a store right now.


In this box are paintings I've done over the past several months. I knew I had a beautiful painting of flowers and the sun in there, so I grabbed and scanned it.


Then it was time for some Photoshopping goodness, because though the graphic collaged at the top hints at clouds, there are no raindrops to be found.


I experimented with several different brushes and the extra features that let you multiply and scatter the brush effects. I don't use this part of Photoshop much, so it was new territory for me. I found a brush that gave a hint of rain and added more to the clouds in gray. Then I went back over the areas with a lighter color to give some atmosphere to the clouds. I also fixed up the sun a bit to add more contrast.

I exported the image into Picasa to add the borders and voila! April Showers Bring May Flowers. 


Truth be told, our weather on the west coast has been so weird lately that our flowers are all in bloom, prematurely. My roses are set to blossom in the next week or so, and I am really looking forward to that.

Happy May to all of you!

"April showers bring May Flowers"........

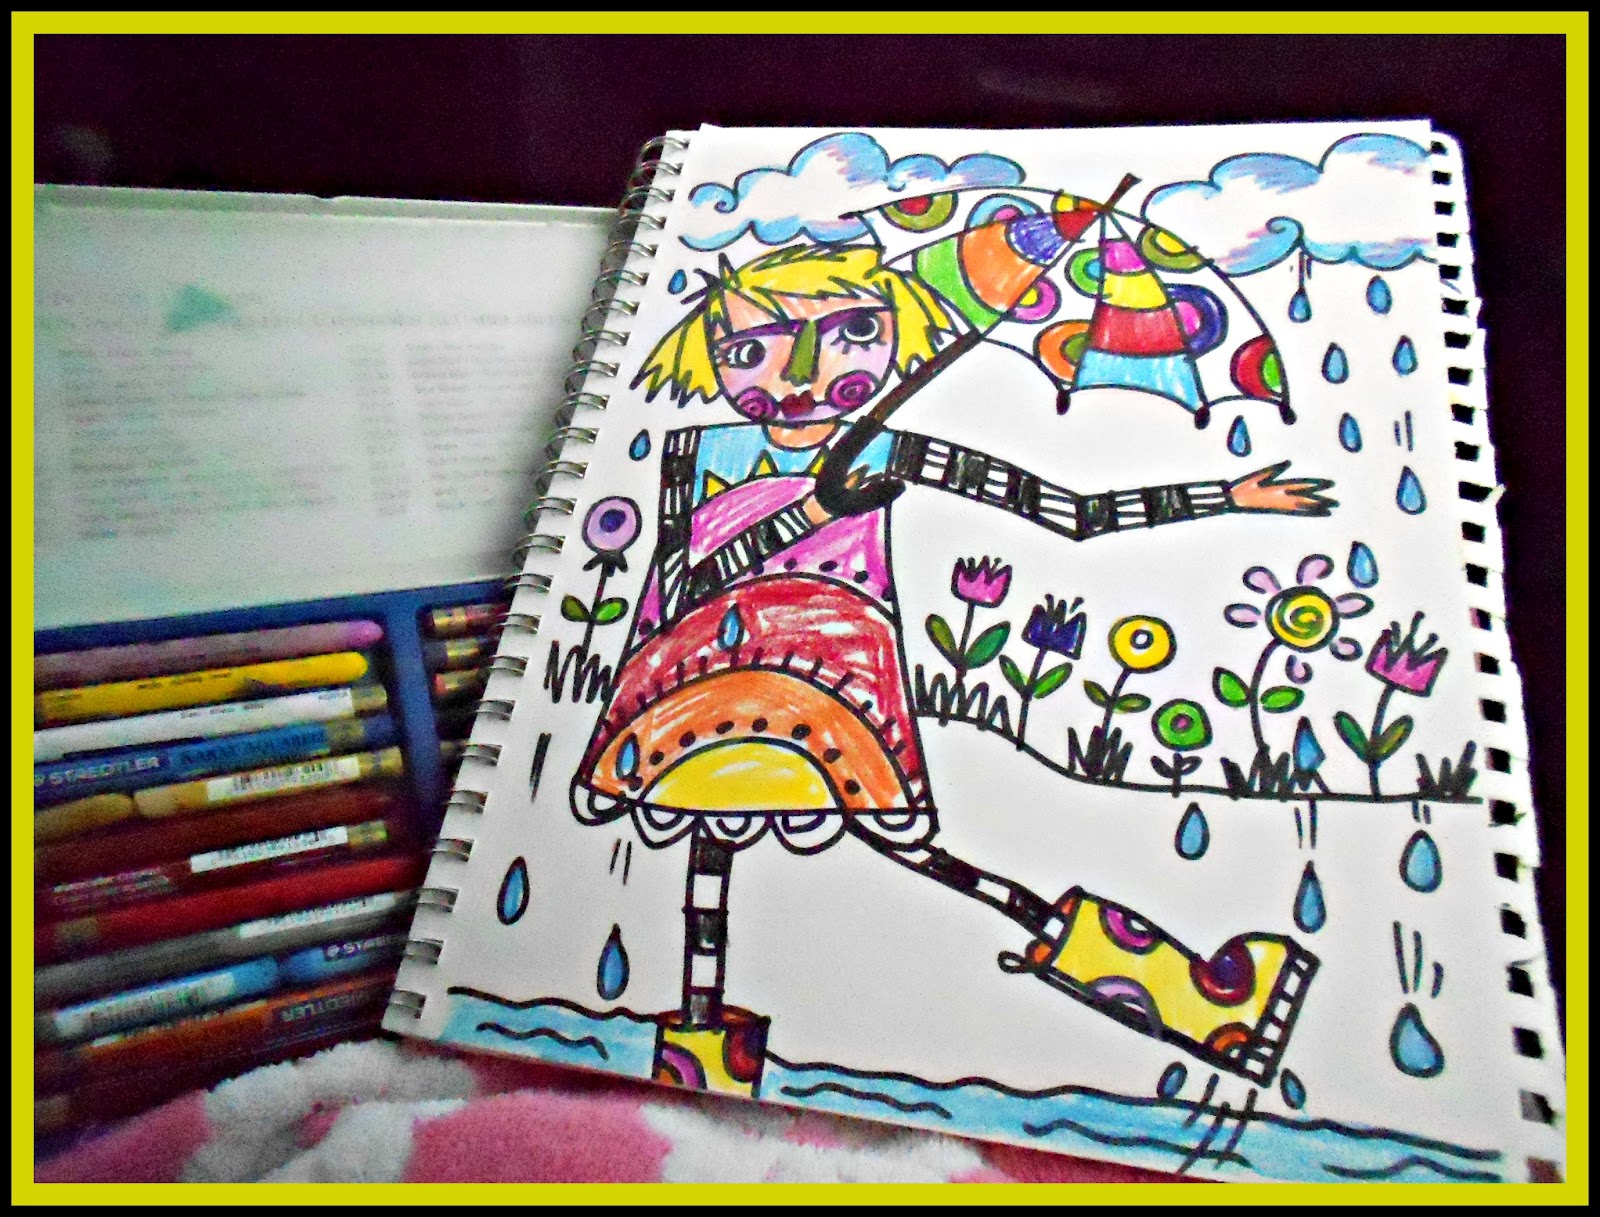
make a watercolor painting with and theme "April showers bring May Flowers"........this was my  challenge for this week......I knew  I was going to be out most of the day Saturday with my Husband enjoying Shad Fest 2012 along the Delaware River in Lambertville NJ (check out my other blog vintage2glam.blogspot.com )...
So I packed up my art supplies and while John drove us about 1 hour to our destination I thought this would be a great time to create this week's challenge........


I just grabbed my black sharpie markers and started creating....I took a class a few months back called Magaly Ohika's Freeform Class.....Had so much fun creating art like a child that I thought I would do this challenge in a free form style...


I have a problem sitting still...I always get bored on car rides...or I should  say I use to get bored on road trips...but now I make sure I have  my bag packed with all my art supplies to keep me busy and help pass the time....


I take a vintage towel that I love and cover my lap and lay out my supplies and start playing....


what could be better????I get to create, see the sites, enjoy some music, talk to my hubby, finish a challenge, and not be bored.......


I love using my water color pencils by  Faber-Castell, and water color crayons by Staedtler


you can be messy like a child when coloring, kind of hard to be neat while driving in a SUV on some back bumpy country roads....


almost done...


now to add the water...love love love my Koi water brushes...they make painting on the go so easy....


"Aprils Showers bring May Flowers"


Sunday, April 22, 2012

"RAIN" Laura McHugh WEST decided the challenge this week................and I must say I was kinda nervous about it...it hasn't RAINED here for some time now and it was getting close to my deadline for getting something together.....but I have to Thank Mother Nature..... cause she came through for me today....we are getting rain and I am so happy, so are the flowers and plants in my garden....here is my version of "RAIN".....

April Showers Video

Wow - this week's challenge was...well...challenging! It was posed by me, so I'm not sure why I found it so difficult!


It was to make a video or take one outside of the rain. Last week, this would not have been a problem, but this weekend we had record high temperatures and nary a drop of rain. So I went the power point route, using iMovie to stitch it all together and post it on Facebook.


First I went searching on the internet for my images. I had envisioned the movie in my head last week while driving around. I often find my creative inspiration when in the car, and last week had me on the road for hours.


I found some rain backgrounds and alternated 3-4 different versions of the rain in a powerpoint. I found the image of a black and white umbrella and added a sequence of 15 images, slightly rotated across the screen, in Power Point.


I put the slides in sequences back and forth and added some title info at the end. That was the easy part.


Then, I was struggling with how to animate it for viewers to see. I thought if I made it a PDF that would work but it did not. And, I couldn't get the transitions short enough to make the umbrella smooth, so I made all 68 slides into .jpg files and dragged them into iMovie. 


Once in iMovie, I was able to specify the slide lengths (much shorter - 0.1 sec/slide) and then exported it to Facebook. I tried to put it on You Tube, but there is a problem making that happen wiht the account settings since Google took over...so here is the Facebook link.