Sunday, March 11, 2012

Image Transfers in the Spring

I got to choose the project for this week - and it was to transfer an image using any technique and in the theme of Spring.

I was out in my yard last weekend when everything finally burst into bloom. I took some photos of the lavender, so I used this photo as the base for the project. Here is the photo in my computer, in Lightroom. I love this program to store and manipulate images, though I didn't do much to this photo other than crop it and put a border around it.


I used the Print module in Lightroom to print out two 5x7 copies of the image on transparency film, printed onto the emulsion side.

Here's one of the images, with a piece of the print paper (Rives BFK) underneath it.


Since I had two identical copies of the image, I used a brush loaded with Purell hand sanitizer to mess with the background of blue sky on one of them. The other, I left alone.
 

Transferring the image to the print paper is super easy. Start by putting a thinnish film of Purell on the paper where you want the image to go. Enough to be wet, but not so much as to be sloppy, unless that is the look you are going for.


Another tip: use a brayer that is clean, but not that you care about because the hand sanitizer might affect the rubber. I was going to use my new printmaking brayers but then thought better of it.

Put the transparency down onto the paper, emulsion side down,and run the brayer over the top of it to help work the image off the transparency and onto the paper.

I always lift the edge carefully to make sure the image is separating from the film. If it is not, you can rub firmly with your fingertips, or lift up the plastic and add more Purell underneath.

Here are the results. The top is the one where I messed up the background a bit. The bottom one is the clean transfer.

You can see that even the "clean" one has a bit of a messed up feel to it, because the image never fully transfers over.

Jacked up background before transferring image.

Image transferred without any manipulation.

Sunday, March 4, 2012

Recycling - Renewal

The challenge this week from my pal to the East was to create a piece of art using recycled materials and you may include color with any type of medium you like... (such as crayon, color pencil, paint, pastels, etc...).


I was doing other art on Friday for Bad Art Night and made this painting.


The painting itself was a recycle. I'd done a sketch a few weeks ago for a class on a large piece of watercolor paper. 


The sketch wasn't what was needed for that class, so I started Friday by applying a coat of gesso over the paper so as not to waste it. Then I applied a background of watercolor in pink.


I used my favorite liquid watercolors by Dr. Ph Martins.

I used pen and ink brushes to add depth to the blue flowers and punched out some pomegranate drawer paper given to me by a friend to make the centers of the flowers. I used a white out pen for the centers of the smaller blue flowers.


When I finished the painting, I thought it was rather hideous. I liked the flowers but not the male and female figures. So, I cut the painting up, thinking I would make bookmarks out of the smaller strips.


I was thinking about what to make for this week's challenge when it occurred to me the paper would be fun made into a three-dimensional piece. For some reason, a small house came to mind so I used washi tape to finish off the roof piece, and to join the bookmark sized pieces into a base for the roof.


I was really happy with the shape of the house, but when I imported the photo of it onto my computer, I felt it could be improved by using Photoshop to add a blue sky and some clouds behind it and two kissing birds in the snowy foreground.

I love the bright colors and the feel of the watercolor paper in three dimensions. I think I will do more with my bookmark-sized pieces from other projects. They remind me of building houses from playing cards as a child.


Up cycling/Recycling/Reclaiming - New Growth/Spring

This week it is my turn (Laura McHugh  East!) and I wanted us to get into the recycling mode...so I asked that we create a piece of art using recycled materials and you may include color with any type of medium you like... (such as crayon, color pencil, paint, pastels, etc...)


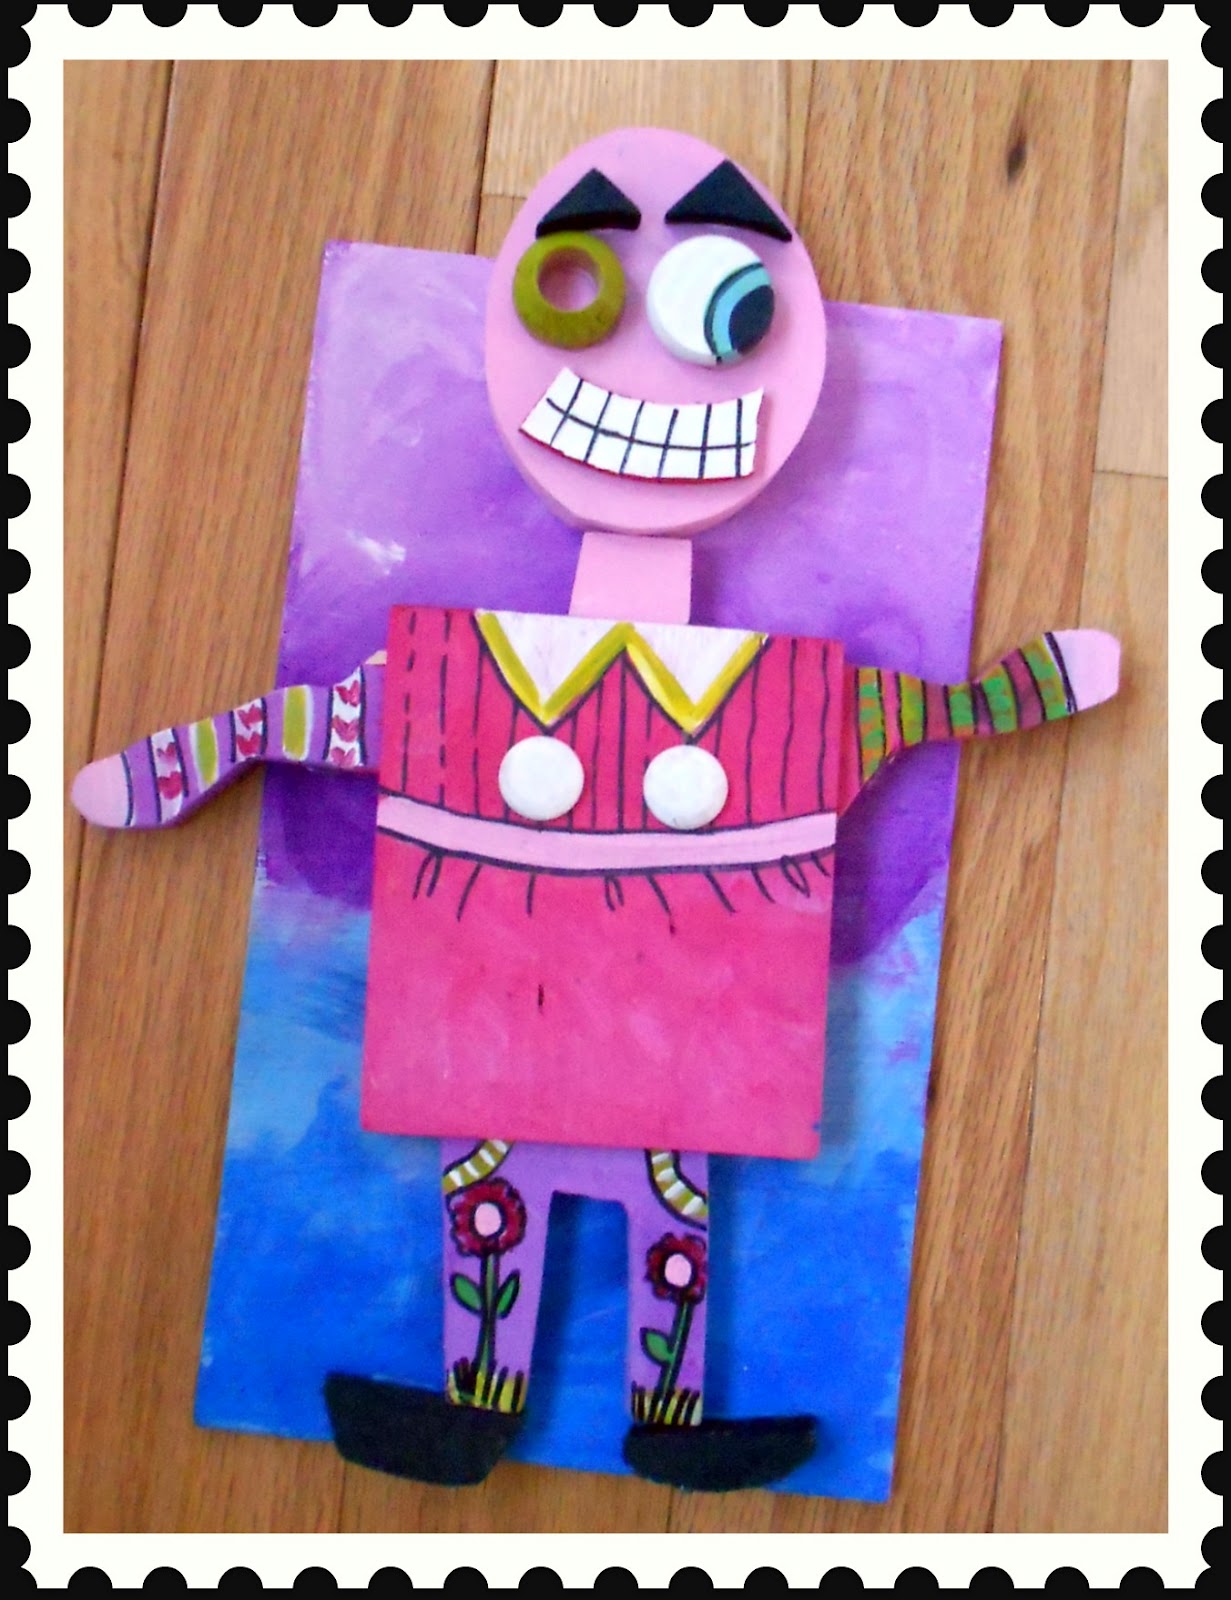
Love love love using recycling as much as possible and I am trying to teach this to all my art students...so while I was having my art classes make wooden recycled people I thought I would make one as well.

Very Lucky to have a great wood shop teacher in our school who shares all her scrap wood, so this is where our lesson starts.....


Create a wooden abstract person out of RECYCLED wooden pieces.


gather scrap pieces of wood, all shapes and sizes...I like to have a larger background piece to glue all your pieces onto.  Arrange them however you want. Then sand and paint.

I love to paint the background, then all of my pieces trying to add detail and pattern....

These were attached to background piece that was cut up from school play scraps....

Wanted to add some kind of crazy hair so I used my new

Paper Shredder Scissors

 that cuts paper into little strips...so I cut up old book pages recycled from school Library books.....


These are so cool...... saves time and makes all cuts perfect....

Added the strips as hair and  bangs......with mod-podge...

Wanted to some how add some of my vintage trims and buttons....to soften up this all wood project...

Well here she is....

Just love her...isn't she cute.....have to think of a good name for her, but for now I will enjoy looking at her....

Sunday, February 26, 2012

make or draw some toys you would take in the tub with you for a bubble bath

"make or draw some toys you would take in the tub with you for a bubble bath" was the challenge for this week the last week in the month of February.....from Laura McHugh WEST.....wasn't really excited about this one because wasn't sure what I would create...love baths but really haven't taken one in so long....


I am always so busy and never seem to have the time to stop and relax...its my own fault...just love  creating so much that I find creating relaxing.....so to stop for a bath just takes too much time.....
so I took out my light  box, put my sketch under my watercolor paper and began to outline with my sharpie black marker....


used my favorite water color crayons and pencils...................
and can't forget my favorite water pens....


love adding the color................


love that it was  a nice afternoon to create art and paint...........love the warm sun shinning in thru the window...


even though I waited to the last moment......I did enjoy the process...so thanks Laura McHugh WEST! I learned that I need to take some time to relax and take a bath......maybe not with all my electronics...but with a glass of wine would be nice.....

Tub Time

This week's challenge I came up with was to make or draw some toys you would take in the tub with you for a bubble bath. I've had a bad week so I was struggling with the idea of relaxing.


Ironically, I have a bath mitt that I love, but I don't have a tub in my new house. I do have a hot tub outside, so I will take my little mitt out there and enjoying it. Definitely needing to relax.


I used traditional watercolors and a watercolor pen, just like Laura McHugh East. I love that pen - it is portable and always does the trick.


Here's a painting of it: Five Little Piggies Had Tub Time.

Sunday, February 19, 2012

Journal Page Filled with Love

This week's challenge comes on the heels of Valentine's Day which was amazing and busy. Family, chocolate and a new boyfriend all filled my heart and my time.


The challenge that Laura McHugh East came up with was to fill a journal page with things we love. What I have is a journal for the Sketchbook Project with the theme "The Last Word Ever Spoken."

So I decided for this challenge I would combine the two projects and fill my journal page with words and sayings I love, and other things I love. 


Right now the thing I love most is being in love.


this is my week's challenge topic and I picked "create a journal page with all your favorite colors, motifs, quotes or sayings that you "LOVE"......"
well I am addicted to Joanne Sharps Letter Love online course.....LOVE IT and perfect timing for our month of LOVE here on Lauramchughsquared Blog 


             love doodling in my journal ...................


I have been busy with my letter LOVE class and love practicing so I thought I would do a journal page with lots of LOVE.......I had some blank tags and thought I would letter them up and use them in journal pages later on in my journal....hope you had a month filled with lots of LOVE!!!!!!!